Tip - How to set up a Condition in Power Automate flow to check if "the field is empty"
Scenario:
sometimes, we have to check if the field contain data or is empty under the Condition action in a Power Automate flow, and we may be confused about which expression should be used to set up the condition.

Reference material from Microsoft
If you use logical functions or conditions to compare values, null values are converted to empty string ("") values. The behavior of conditions differs when you compare with an empty string instead of a null value. For more information, see the string() function.
Refer to below link for more details from Microsoft:
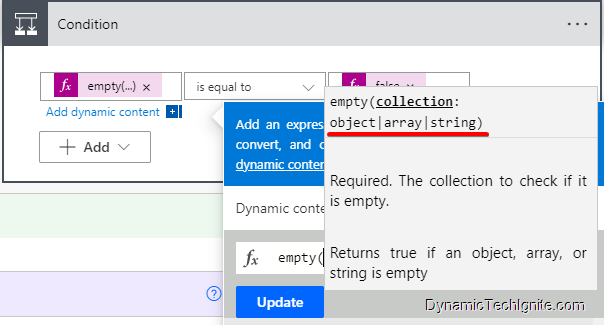
"empty" function
Check whether a collection is empty. Return true when the collection is empty, or return false when not empty.
Copy
empty('<collection>')empty([<collection>])| Parameter | Required | Type | Description |
|---|---|---|---|
| <collection> | Yes | String, Array, or Object | The collection to check |
| Return value | Type | Description |
|---|---|---|
| true or false | Boolean | Return true when the collection is empty. Return false when not empty. |
Example
These examples check whether the specified collections are empty:
Copy
empty('')empty('abc')And returns these results:
- First example: Passes an empty string, so the function returns
true. - Second example: Passes the string "abc", so the function returns
false.
Refer to below link for more details from Microsoft:
On the left side of the condition
"empty" function
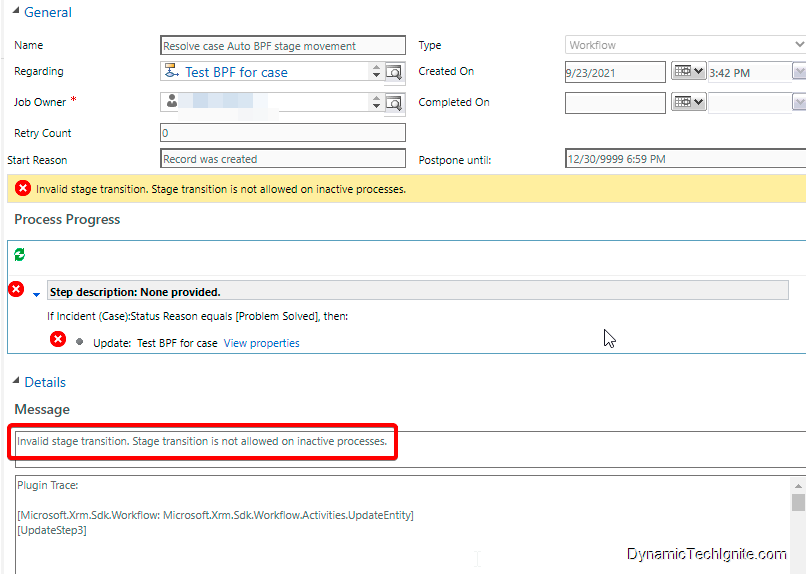
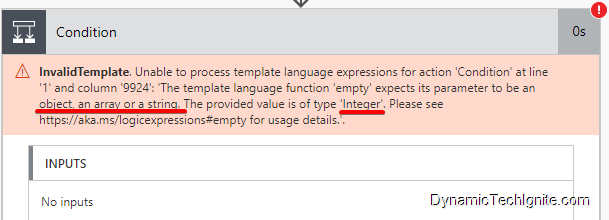
empty([DynamicValue])e.g. empty(triggerOutputs()?['body/address1_city'])but please note that the type of DynamicValue should be String, Array, or Object only (most of time, it will be a string type), otherwise, you will see an error, for instance, if we try to use a option set (choice) field in the Empty function indicated below, then we will see below error message during the run.
e.g.empty(triggerOutputs()?['body/preferredcontactmethodcode'])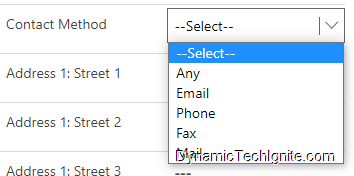
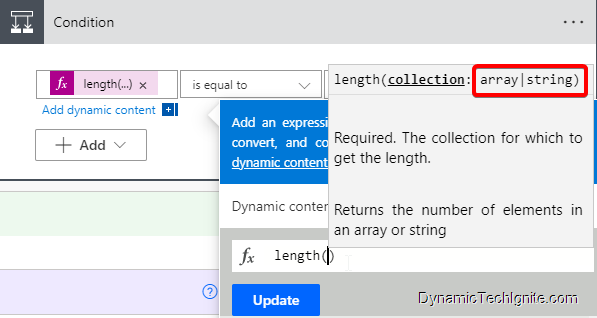
"length" function
length([DynamicValue])e.g.length(outputs('retrieve_option')?['body/methodToUpdate'])but please note that the type of DynamicValue should be String, Array only. for instance, you can use it to check the length of an array in order to verify if the file or option exists. If it’s greater than 0, the array is not empty. If it’s 0, then it’s empty.
On the right side of the condition
If you intend to check if a field is empty or not (on the right side of the condition) , and then do something. there are also couple of ways you can refer to.
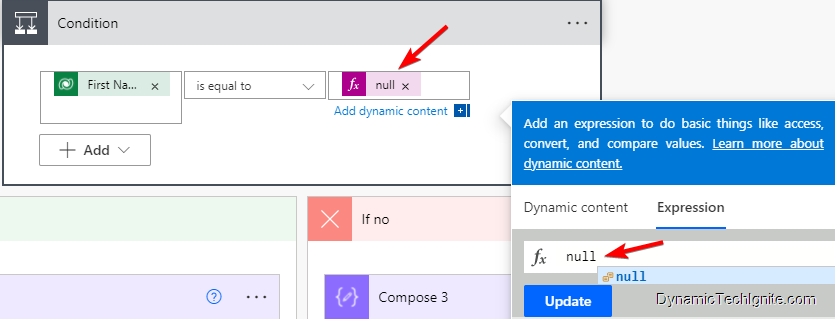
null keyword
Just open the expression builder as below pic shown, and enter null, then you will see below predefined value “null” show up, after that, you can just click on Update to add it in the condition on the right side for comparison.
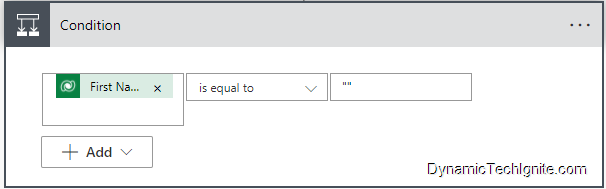
empty string ("") value
if you‘re sure that the data type of the field you’re using on the left side of the condition is a string, then you can just put empty string on the right side for comparison.